NetMirror v6.0 supports video playback in multiple quality levels — from 480p (data saver) all the way up to 4K HDR10 (cinema quality). By default, the app uses Auto Mode, which adjusts quality based on your internet speed. But if you want full control over your viewing experience, here's how to manually change it.
Step 1: Launch NetMirror and Play a Video
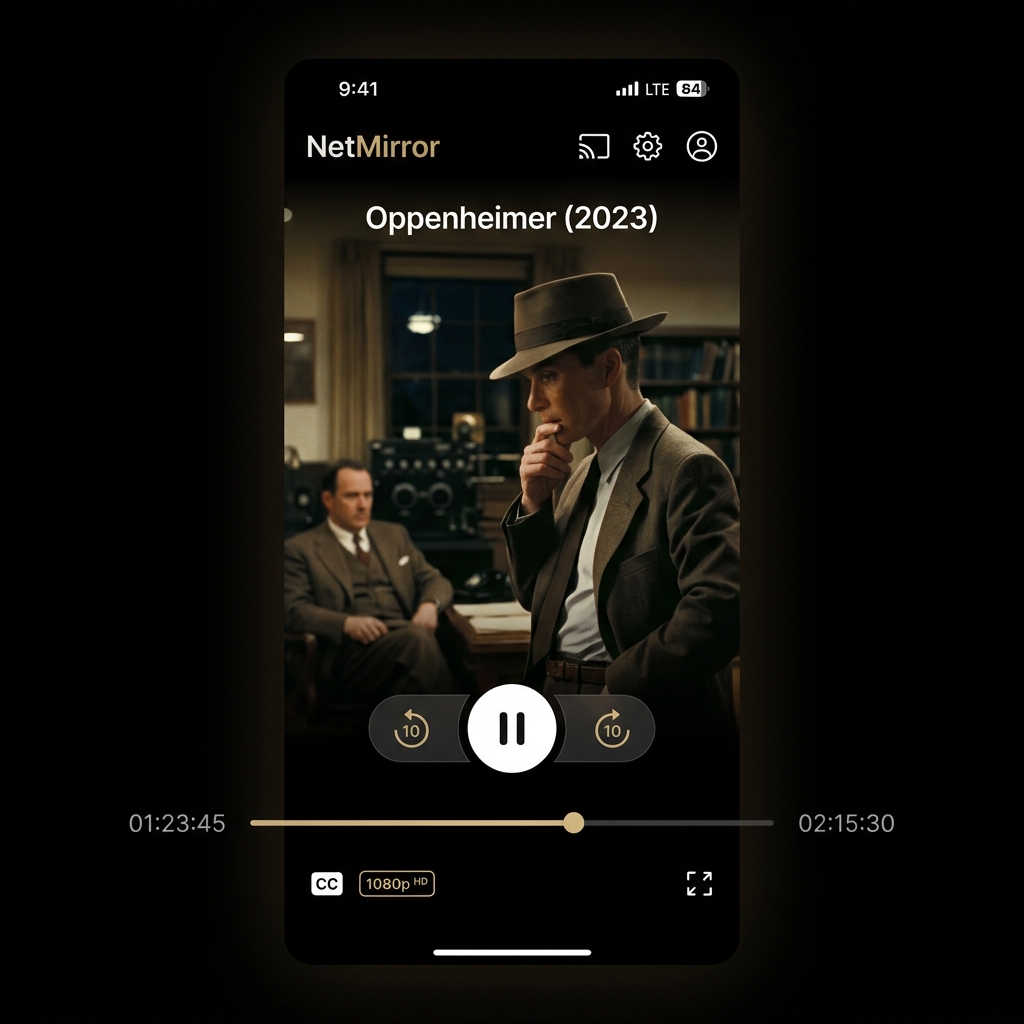
Open the NetMirror app on your device and browse to any movie or TV show. Tap the "Play" button to start streaming. The video will initially load in Auto quality based on your current internet speed.
This works on all supported devices — Android phones, Android TV, PC via BlueStacks, and even the Chromecast casting method.
Step 2: Access the Player Settings
Once the video is playing, tap anywhere on the screen to reveal the playback controls. You'll see the standard play/pause, seek bar, and volume controls.
Look for the ⚙️ gear icon in the top-right corner of the media player. This opens the settings panel where you can control quality, audio language, and subtitles.
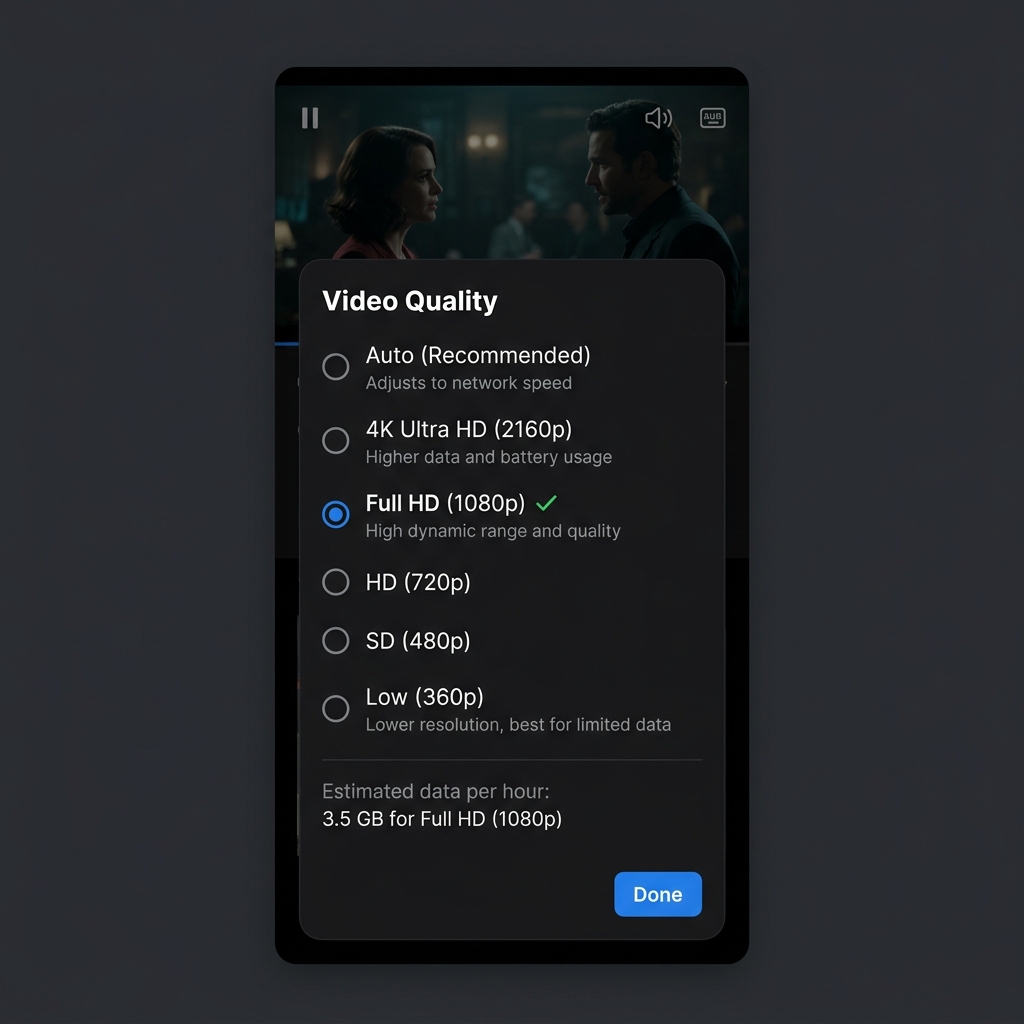
Step 3: Select Your Preferred Video Quality
After tapping the gear icon, you'll see the Quality menu with these options:
| Quality Level | Resolution | Data Usage (per hour) | Best For |
|---|---|---|---|
| Auto | Varies | ~0.5–3 GB | Unstable internet connections |
| 480p (SD) | 854×480 | ~0.5 GB | Limited data plans, 3G networks |
| 720p (HD) | 1280×720 | ~1.0 GB | Mobile viewing, moderate internet |
| 1080p (FHD) | 1920×1080 | ~2.0 GB | WiFi streaming, tablet, PC |
| 4K HDR10 | 3840×2160 | ~5.0 GB | Smart TV, high-speed broadband |
Step 4: Enable Full HD in App Settings (One-Time)
By default, NetMirror caps quality at 720p to save data. To unlock 1080p FHD and 4K permanently:
- Go to the NetMirror home screen
- Tap the profile icon (top-right corner)
- Go to Settings → Playback
- Toggle "Enable Full HD (1080p)" to ON
- Toggle "Enable 4K HDR10" to ON (if your device supports it)
Once enabled, these quality options will appear in the player settings for all future videos.
How to Set Default Video Quality
Tired of changing quality every time? You can set a default quality level that applies to all videos:
- Open Settings → Playback → Default Quality
- Choose your preferred default (Auto, 480p, 720p, 1080p, or 4K)
- Toggle "Remember Last Quality" if you want the app to use whatever you last selected
This is especially useful on Android TV where you always want 1080p or 4K.
Troubleshooting Video Quality Issues
Video Keeps Dropping to Low Quality
If you've set 1080p but the video keeps reverting to 480p, your internet speed might be fluctuating. Try:
- Disable Auto Mode — Force a fixed quality so the app doesn't downgrade
- Switch to WiFi — Mobile data can be inconsistent
- Close other apps — Background apps consuming bandwidth
- Check if VPN is active — VPNs can reduce speed by 20-30%. See our VPN guide
4K Option Not Showing
If you don't see 4K in the quality menu:
- Make sure you're on NetMirror v6.0 or later (download latest version)
- Enable 4K in Settings → Playback → Enable 4K HDR10
- Not all content is available in 4K — check if the specific title supports it
- Your device must have a 4K-capable display
Video Buffering Despite Good Internet
If you have fast internet but still experience buffering:
- Clear app cache — Settings → Apps → NetMirror → Clear Cache
- Try a different server — Tap the server icon in the player to switch
- Lower quality by one step — If 4K buffers, try 1080p
- For more fixes, check our NetMirror Not Working guide
Data Usage Tips
If you have a limited internet plan, here's how to reduce data usage while still enjoying decent quality:
- Use 480p on mobile data — Looks fine on small screens, saves 75% data
- Download on WiFi, watch offline — Use the offline download feature to save videos when connected to WiFi
- Set "WiFi Only" streaming — Prevents accidental data usage on mobile networks
- Disable auto-play — Stops next episode from automatically streaming
Video Quality Comparison: What Each Level Looks Like
Here's a real-world comparison of how each quality level looks on a standard 6.5-inch phone screen:
| Quality | Visual Clarity | Text Readability | Rating |
|---|---|---|---|
| 480p | Slightly blurry, acceptable for casual viewing | Subtitles readable at normal distance | ⭐⭐⭐ |
| 720p HD | Sharp and clear, good for most content | Subtitles crisp and easy to read | ⭐⭐⭐⭐ |
| 1080p FHD | Excellent detail, cinematic experience | Perfect subtitle rendering | ⭐⭐⭐⭐⭐ |
| 4K HDR10 | Ultra-sharp with HDR color accuracy | Best possible quality | ⭐⭐⭐⭐⭐ |
Frequently Asked Questions
No, audio quality is separate. NetMirror always streams audio at the highest available bitrate regardless of video quality setting. You can change audio language independently from the audio settings.
Yes! Go to Settings → Playback → Quality Presets. You can set one quality for WiFi (e.g., 1080p) and a lower quality for mobile data (e.g., 480p). The app switches automatically.
4K HDR10 streaming requires consistent 25+ Mbps throughput. If you're using WiFi, signal strength matters. Try connecting your device via ethernet or moving closer to your router. Also try clearing the app cache and switching servers.
When casting to a TV via Chromecast, the quality is re-negotiated based on your TV's capabilities and network speed. However, if you've enabled FHD and 4K in settings, those options will be available during casting too.